


The Beautiful Rendering That Looked Terrible Printed on a Banner
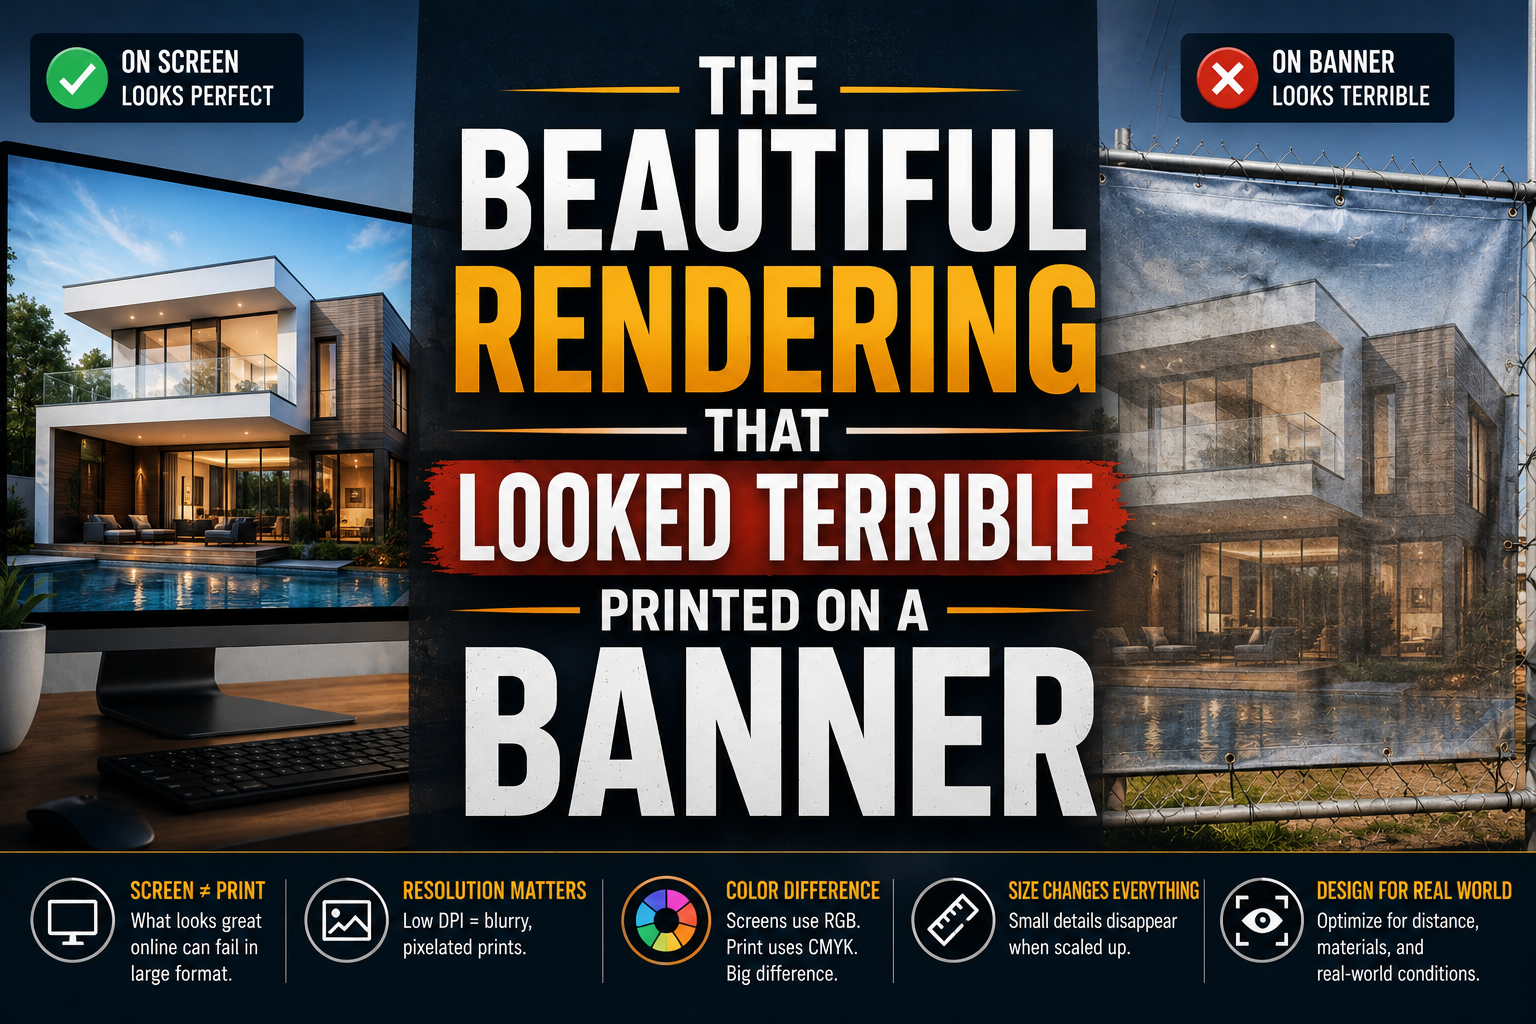
A design firm spends real money on a stunning architectural rendering, gets glowing feedback from the client on screen, then prints it for a trade show banner and watches it come back from the printer looking soft, pixelated, and embarrassingly low quality next to competitors' crisp displays. Nobody changed the rendering. The image that looked flawless on a laptop screen simply wasn't built for the output it eventually needed to serve, and that mismatch is one of the more expensive, avoidable mistakes in architectural visualization.
This happens more often than it should, because most people involved in commissioning renderings, architects, developers, marketing teams, don't actually understand the mechanics of resolution and how dramatically the requirements shift based on final use.
Why "high resolution" isn't actually one number
The instinct when ordering a rendering is often to just ask for "high resolution" and assume that it covers whatever the image eventually needs to do. This works reasonably well for a single specific output, but architectural renderings frequently get repurposed across radically different formats: a website hero image, a printed presentation board, a large-format trade show banner, a social media post, a full-page magazine spread. Each of these has genuinely different resolution requirements, and a resolution that's perfectly adequate for one is completely inadequate for another.
A rendering built at 1920x1080 pixels looks crisp on a website or in a digital presentation. Print that same image at banner size, and the pixel density drops so far that the image looks visibly soft or blocky, because you're stretching the same number of pixels across a much larger physical area.
Understanding the actual mechanics
Resolution measures total pixel count, the width and height of an image in pixels. But what determines whether an image looks sharp in its final use is pixel density, how many of those pixels are packed into each physical inch when the image is displayed or printed. This is where DPI, dots per inch, comes in for print applications, and where screen resolution comes in for digital display.
A screen displaying an image only needs enough pixels to fill that screen's own resolution, which is why relatively modest file sizes work fine for web and digital presentations. Print is fundamentally different, because a printed image needs enough actual pixel density to look sharp when viewed up close, which for standard print quality generally means significantly more pixels per inch than what's needed for the same physical size on a screen.
This is why the same rendering, technically identical in terms of the 3D scene and lighting, needs to be exported or rendered at completely different resolutions depending on whether it's headed to a website, a printed brochure, or a large-format banner.
Where the mismatches actually cause problems
Trade show and marketing banners. These are viewed from a distance but are physically enormous, sometimes many feet wide. This means the DPI requirement is actually lower than you'd think for close-up viewing, but the total pixel dimensions still need to be very large to cover that physical size without the image stretching pixels past their useful density.
Printed presentation boards and client deliverables. These get viewed up close, sometimes examined in detail during a presentation, which means they need genuinely high DPI, not just large pixel dimensions, to avoid looking soft or pixelated under close inspection.
Magazine and publication features. Print publications typically have specific submission requirements, often quite high DPI standards, that need to be confirmed before final renders are produced, since retrofitting a low-resolution render to meet publication standards after the fact usually isn't possible without visible quality loss.
Web and digital use. Ironically the least demanding category in terms of raw pixel requirements, but oversized, unoptimized images cause real problems here too: slow page load times, poor mobile performance, unnecessarily large file sizes that hurt both user experience and search engine performance.
The planning mistake that causes most of this
The root cause of most resolution mismatches isn't technical, it's planning. Renderings get commissioned without a clear conversation about every place that image will eventually be used. A rendering intended purely for a website ends up needing to also work for a printed presentation months later, and by then, re-rendering at the required resolution costs additional time and money that could have been avoided with upfront planning.
The fix is straightforward in principle: identify every intended use for a rendering before it's produced, understand the specific resolution and DPI requirements for the most demanding of those uses, and render at that specification from the start. It's far more efficient to render once at sufficient quality for all intended uses than to discover partway through a project that the existing renders can't serve a use case that's come up.
What to actually specify when commissioning renderings
There's a comprehensive breakdown of choosing the right rendering dimensions and resolution for architectural renders that covers exactly this decision-making process, including how to think about DPI for different print applications and how to balance quality against production time and cost. This is genuinely useful reference material before commissioning any rendering project, particularly if the image is likely to serve multiple purposes across its useful life.
A short checklist before finalizing a rendering order
-
List every planned use for the rendering, not just the immediate one. Website, print, social, presentations, all of it.
-
Identify the most demanding use case, since that determines the minimum resolution and DPI the rendering needs to be produced at.
-
Confirm publication or print vendor specifications if the rendering is headed for a specific external use, since requirements vary.
-
Budget for higher resolution production up front rather than assuming a lower-resolution render can be scaled up later, since upscaling never actually recovers detail that wasn't captured initially.
-
Keep source files at maximum resolution, exporting lower-resolution versions for web use as needed, rather than working backward from a compressed final image.
A rendering that looks perfect on the screen it was reviewed on isn't automatically ready for every place it might eventually need to appear. Understanding resolution requirements before production starts is the difference between one rendering that serves every purpose well and a rendering that quietly fails the moment it's asked to do something it wasn't actually built for.

 English